使用远程的 Git 主机
如果您已在 GitHub (github.com) 或 BitBucket (bitbucket.org) 中使用某个远程 repository,该方案则很有帮助。在此情况下,您发送更改到该远程 repository,然后 Plesk 会从远程 repository pull 这些更改并将其部署到您的网站上。
Clone Git Repository
You can create a Git repository that will be a clone of a remote repository. Go to Websites&Domains and click Git. If you have already created Git repositories for your domain, click the Add Repository button. You will see the screen for creating a new repository:
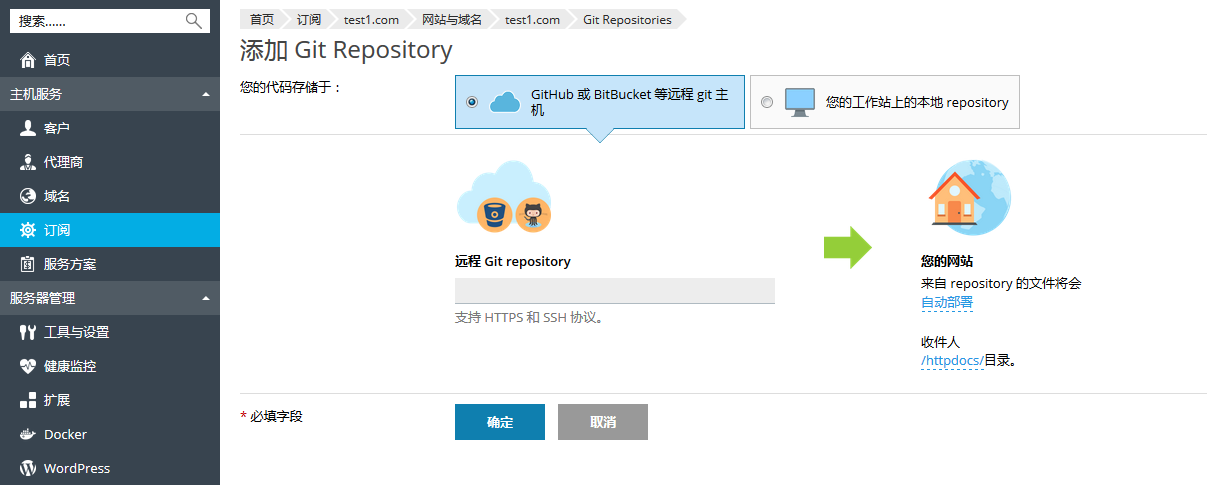
First, you have to select where your code is stored. In this scenario, select Remote git hosting like GitHub or BitBucket.
Remote Git repository. Enter the path to your remote repository in BitBucket or GitHub. You can enter it in either HTTPS or SSH format. HTTP/HTTPS authentication is not supported, so you can use HTTP/HTTPS protocol only if a repository does not require authentication. If a private Git repository is used, you must authenticate with an SSH key generated by Plesk (refer to Use SSH Connection for details).
In the Your Website section, specify the following:
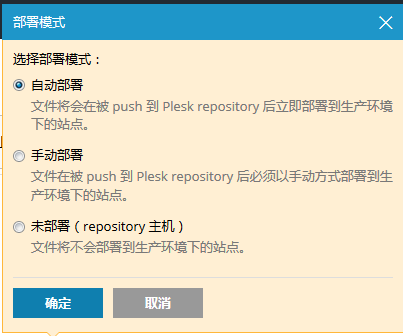
- The deployment mode. By default, the Automatic deployment is used. This means that all changes pushed to the Git repository will be automatically deployed to the production site. If you want to change the deployment mode, click the automatically deployed link and select another option in the opened Deployment Mode window. If Manual deployment is selected, you will need to manually deploy files from the Git repository to your hosting. If No deployment is selected, the files will not be deployed to the production site (this can be used, for example, to store and exchange code).
- A target directory for publishing Git files on your website. By default, the
/httpdocsdirectory is used. You can change it to another existing directory by clicking the directory name.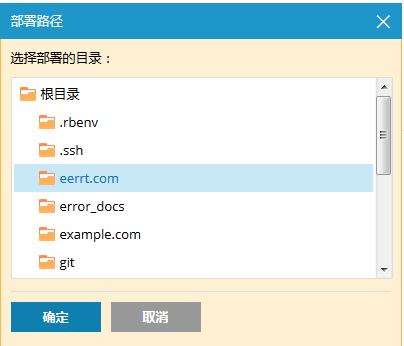
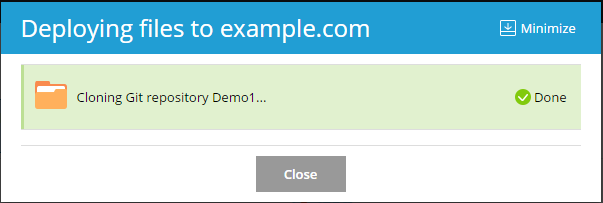
Click OK. Plesk will try to connect to the remote repository and clone it.
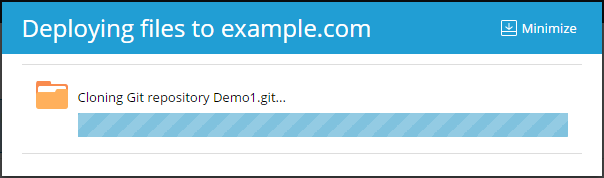
After the progress dialog shows that the cloning has completed successfully, the new repository will be displayed on the Git page.
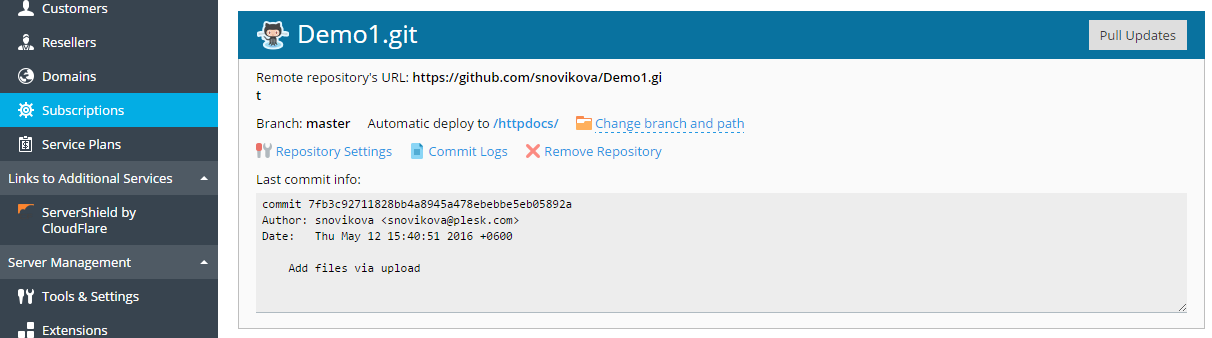
The new repository will be displayed at Websites & Domains > Git. The name of the remote repository will be used as a Git repository name. You can rename the repository later (refer to the Rename or Remove a Repository section).
The created repository is a clone of the remote repository and will be used for pulling changes from it and deploying them to the target directory.
使用SSH连接
您可以使用SSH连接远程的Git repository。在此情况下,添加新的 repository时,请以SSH格式指定远程repository的URL。将会出现SSH 公共密钥字段,显示由 Plesk自动生成的SSH公共密钥。
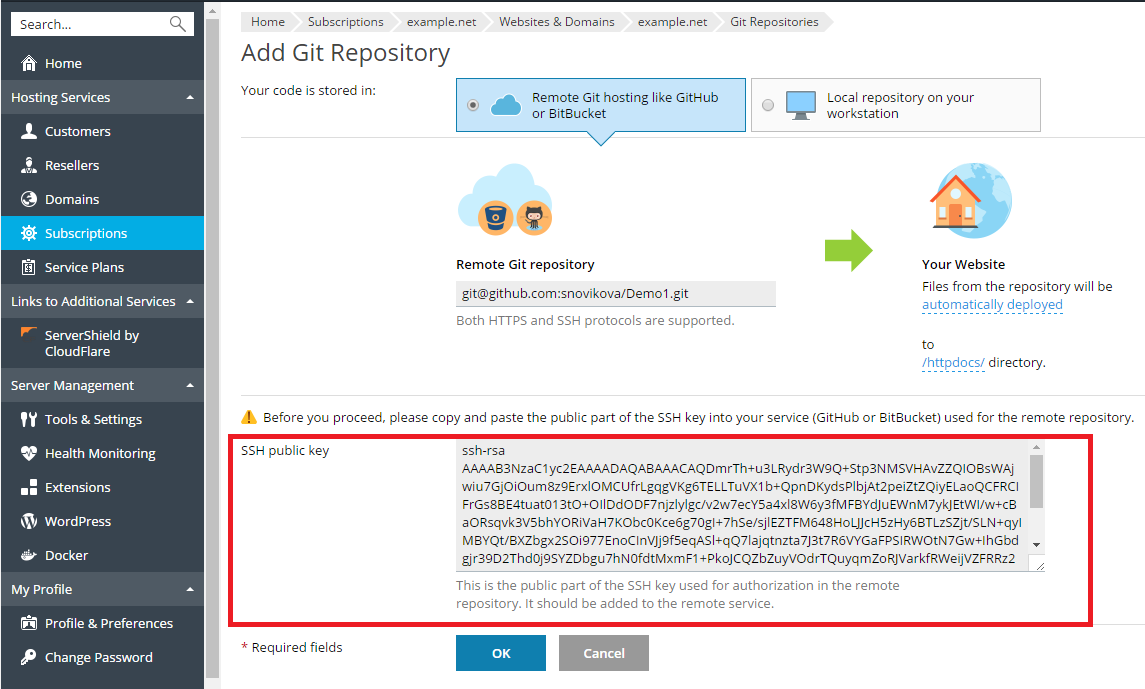
在点击该屏幕上的确定之前,您必须要将该SSH密钥添加到远程的Git repository的设置中。详情请查看为 GitHub 和 Bitbucket 添加 SSH 密钥的文档。
Pull 和部署文件
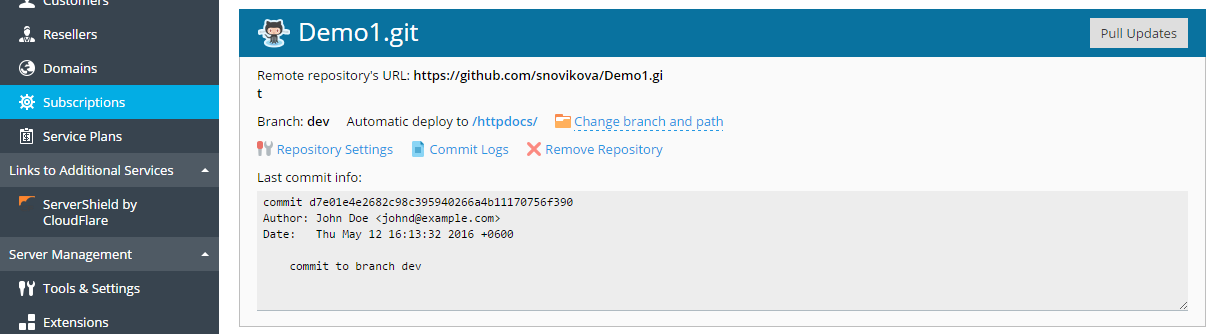
您commit网站文件并将文件push 到远程的 repository后,进入 网站与域名 点击repository名称旁的以Pull 方式更新 按钮。来自远程 repository 的更改将会被 pull 到克隆的 Git repository 中。
您可以在网站与域名 > Git处看到上一次commit信息。
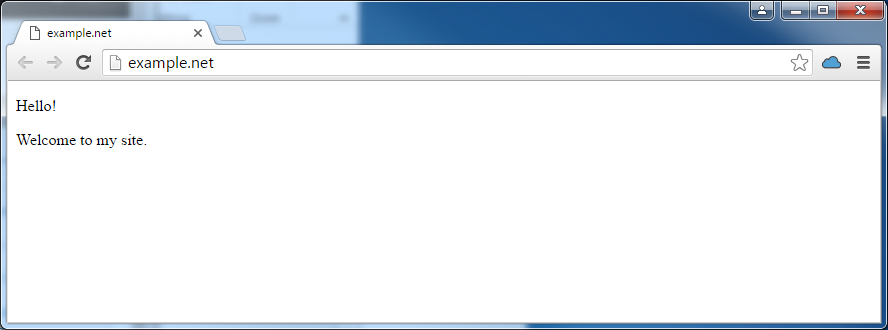
默认 Plesk 会使用 自动部署 模式。这表示在文件被 push 到 repository 后,会立即被部署到目标目录(必要时可禁用该模式,请参阅 选择部署模式 部分)。
例如,如果已经 pull 一个 index.html 文件(该文件带有文本 “Hello! Welcome to my site”),则可以立即点击网站 URL 查看更改。
更改 branch 或路径
从新的 branch 部署
正常不会在一个 repository 中操作多个 branches。一个时间段内只能有一个活动的 branch。默认会将主branch 用于部署。
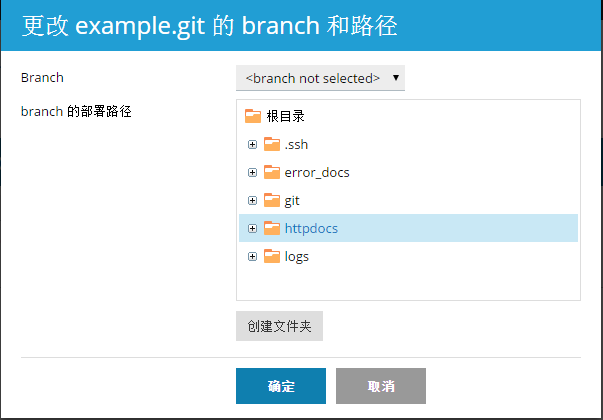
若要添加新的 branch,您需要在远程 repository 中创建一个 branch 然后 pull 更改。此后,您可以在 Plesk 中的两个或多个活动的 branches 中选择一个。进入网站与域名 > Git,点击 更改 branch 和路径,然后在打开的窗口中于Branch 菜单中选择branch名称。
如果您选择一个新的 branch 并点击 确定,Plesk 将会显示新的活动的 branch。
更改部署路径
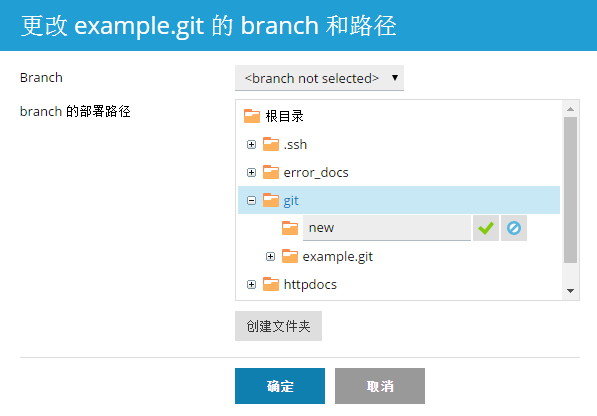
默认会将 /httpdocs 目录用于在网站上发布 Git 文件。如果您想要更改部署路径,请进入网站与域名 > Git,点击更改 branch 和路径链接,在打开的窗口中选择新的目录。
选择部署模式
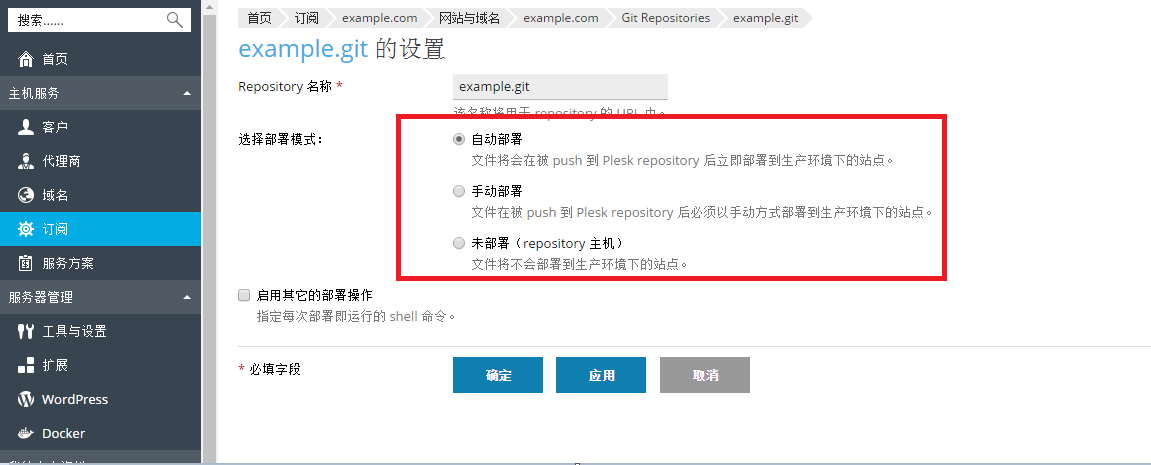
您可以为您的 repository 选择部署模式。进入网站与域名 > Git,点击Repository 设置 并在选择部署模式处选择一个选项:
- 自动部署. 如果您希望 Plesk 立即部署所有更改到生产环境下的站点请选择该选项。
- 手动部署. 您将需要点击 从 Repository 部署 按钮(在 网站与域名 > Git 下)。您还可以点击 网站与域名页面上 repository 名称旁的 Deploy 按钮手动部署文件。
- 无部署(repository 主机)。在此情况下,文件将不会部署到生产环境下的站点。如果您只是使用 Git repository 存储和交换代码可考虑该选项。
将 Webhooks 用于自动 Pull
您可以使用 webhooks 配置您的远程 repository 以通知 Plesk 有关某些事件的信息,例如,push 文件到 repository。详情请参阅管理 BitBucket 或 GitHub 中的 webhooks 的文档。
会自动为 repository 生成 Webhook URL。若要查看 Webhook URL,请点击 Repository 设置。
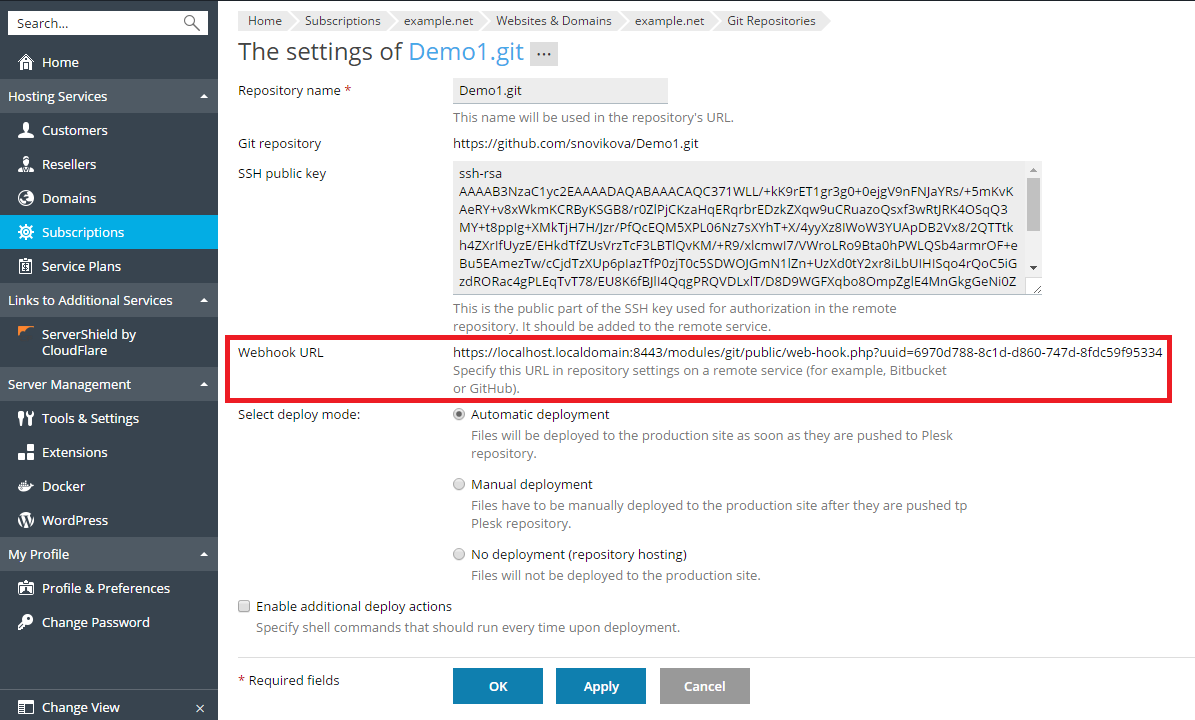
复制 webhook URL,将其添加到您的远程 repository 并将其配置可在 push 到 repository 的情况下被触发。因此每次 push 文件到远程 repository 时,Plesk 都将会通知有关 push 事件的信息,将会自动 pull 文件,因而您无需再点击 以 Pull 方式更新 按钮。如果为某个 repository 配置了自动部署,被 pull 的文件将立即被部署到网站。
注意:如果Plesk是通过自签名证书保护安全的,如果通过HTTPS协议调用webhook可能会因SSL/TLS握手问题而不工作。如果是此种情况,请在webhook URL中指定 HTTP协议。
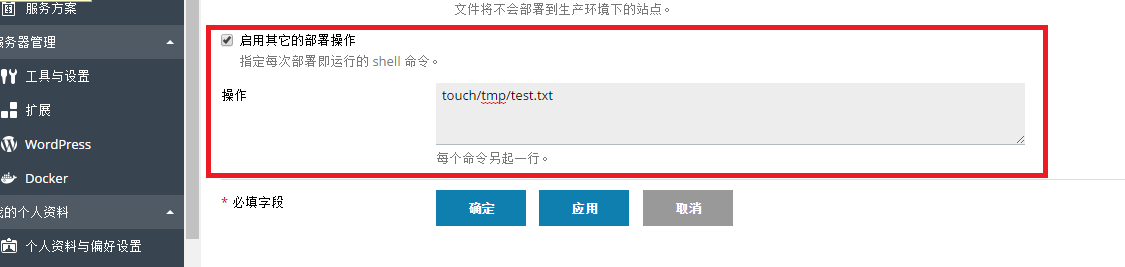
启用其它的部署操作
在很多情况下,文件发布还不足以完成网站的部署。例如,如果您正使用 Ruby on Rails 等框架,您可能需要在部署后使用如 bin/rails db:migrate 之类的命令运行数据迁移。
Plesk 支持定义每次部署文件到网站后将要运行的其它命令。
进入网站与域名 > Git,点击Repository 设置,选择启用其它的部署操作,并输入一个或多个在每次部署repository 内容时需运行的shell命令。每个独立的命令各占一行。
注意:如果禁用系统用户在 Linux 上使用 SSH,所有指定的命令将在 chrooted 环境中运行。订阅的系统用户的主目录会被当做该订阅的文件系统根,不会运行 chroot jail 外的可执行文件。例如,如果您站点的路径是 /var/www/vhosts/example.com/httpdocs,那么在 chrooted 环境中的路径则是 ./httpdocs,因此您将无法在超出 /httpdocs 目录一级的目录中执行命令。
查看提交日志
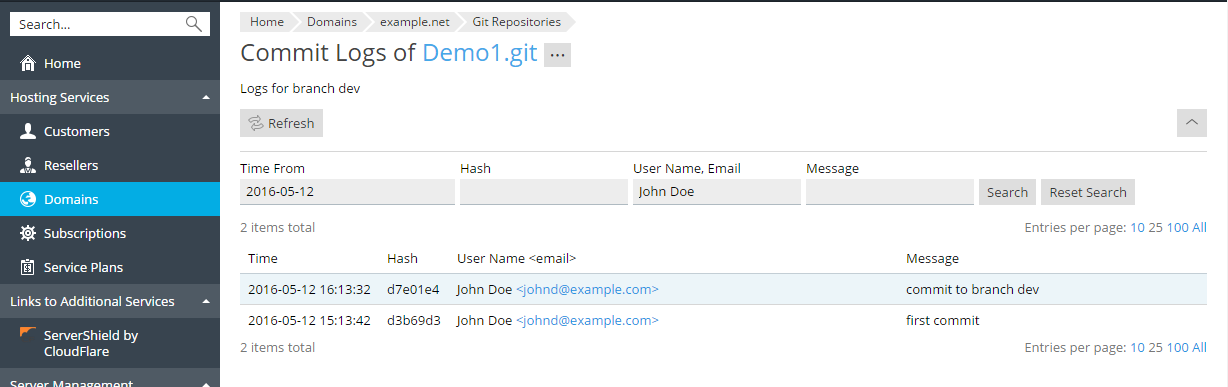
若要查看当前 branch 的整个commit历史,请进入 网站与域名 > Git,点击Commit 日志 链接。对于每个提交记录,将会显示以下信息:时间、唯一的标识符、用户名称和提交信息。单击刷新以更新commit日志。

您可以按任何参数过滤commit日志 例如,您可以找到某个用户某个日期在哪里提交的信息。请点击 ![]() 按钮,输入搜索参数,点击 搜索。
按钮,输入搜索参数,点击 搜索。
重命名或移除 Repository
您可以在任何时候重命名 repository。例如,如果您已完成了开发,您可能想要将 repository 名称从 website-dev 更改为 website 以避免混淆。进入网站与域名 > Git,点击Repository 设置,在 Repository 名称 字段输入新的名称。
如果您想要移除 repository,请点击 移除 Repository 链接(在 Git 屏幕上)。在此情况下,Plesk 将只会移除 repository,而带有发布数据的目标目录则保持原样。