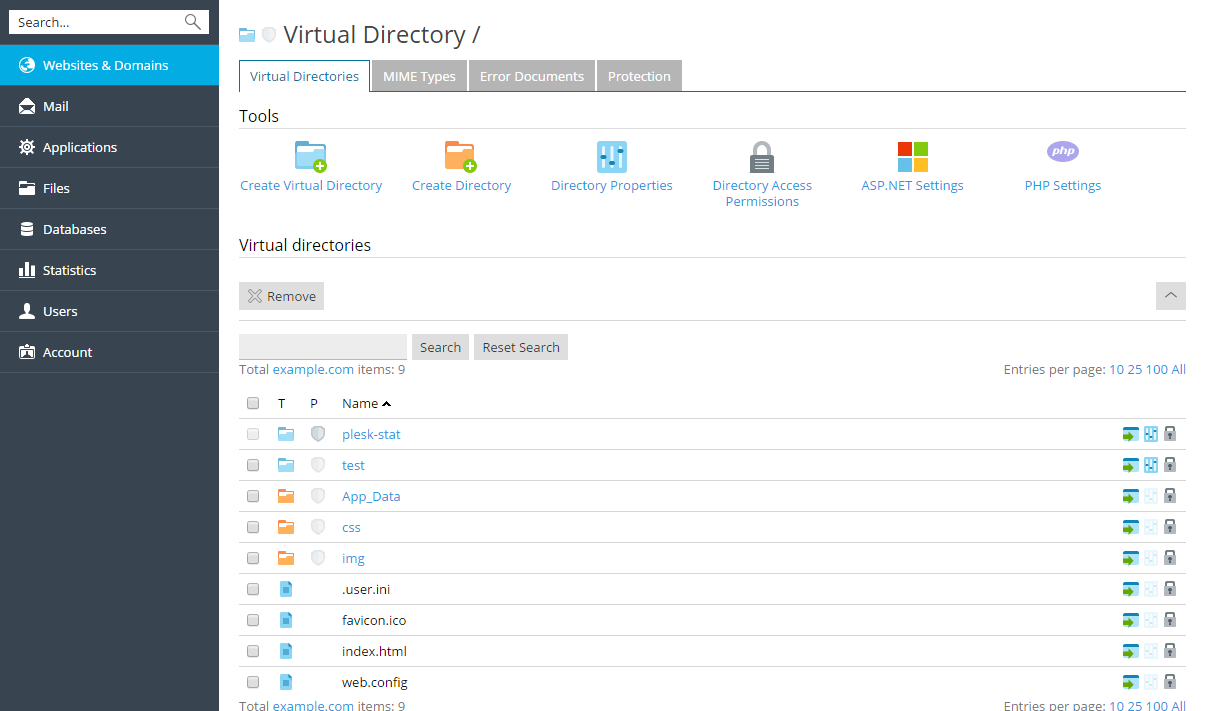
Creating Virtual Directories
To create a virtual directory within a website:
- Go to Websites & Domains and find the website's domain name.
- Click Virtual Directories. You are in your web site root now.
- Navigate to the directory in which you want to create a virtual directory.
- Click Create Virtual Directory.
Note: To create a physical directory instead of virtual directory, click Create Directory, specify the name of the directory and click OK.
- Specify the required parameters:
- Name - specify the virtual directory name.
- Path - specify the virtual directory path:
- Select the Create physical directory with the same name as virtual directory checkbox to automatically create a physical directory with the same name as the virtual directory you are creating.
- Clear the Create physical directory with the same name as virtual directory checkbox and specify the path in the field to select a physical directory that already exists.
- Script source access - select this checkbox to allow users to access source code if either Read or Write permissions are set. Source code includes scripts in ASP applications.
- Read permission - select this checkbox to allow users to read files or directories and their associated properties.
- Write permission - select this checkbox to allow users to upload files and their associated properties to the virtual directory or to change content in a write-enabled file. Write access is allowed only if browser supports the PUT feature of the HTTP 1.1 protocol.
- Directory browsing - select this checkbox to allow users to see a hypertext listing of the files and subdirectories in the virtual directory.
- Log visits - select this checkbox if you want to store the information about visits of the virtual directory.
- Create application - select this checkbox to make the directory an IIS application. The directory becomes logically independent from the rest of the website.
- Execute permissions - select the appropriate program execution level allowed for the virtual directory.
- None - allow access only to static files such as HTML or image files.
- Scripts only - allow running scripts only, not executables.
- Scripts and Executables - remove all restrictions so that all file types can be executed.
- ASP Settings - set specific settings for ASP-based web applications.
- If you are using ASP-based applications that cannot operate correctly under data transfer restrictions currently set by IIS, clear the Defined by parent directory checkbox corresponding to the field you want to change and type in the required number.
- If you want to enable debugging of ASP applications on the server side, clear the corresponding Defined by parent directory checkbox and select the Enable ASP server-side script debugging checkbox.
- If you want to enable debugging of ASP applications on the client side, clear the corresponding Defined by parent directory checkbox and select the Enable ASP client-side script debugging checkbox.
Note that if you are trying to change ASP Settings for the root virtual directory, the default checkbox names will be Defined by IIS instead of Defined by parent directory.
- Click OK.
To remove a virtual directory from a website:
- Go to Websites & Domains and find the website's domain name.
- Click Virtual Directories.
- Select the checkbox corresponding to the directory you want to remove.
- Click Remove.
- Confirm the removal and click OK.